
Meja Laptop Roda Meja Belajar Standing
beli di sini

Meja Portable Multifungsi Meja Lipat Kayu
beli di sini

Buku Sakti HTML & 1 Jam Ahli Pemrograman HTML, CSS
beli di sini
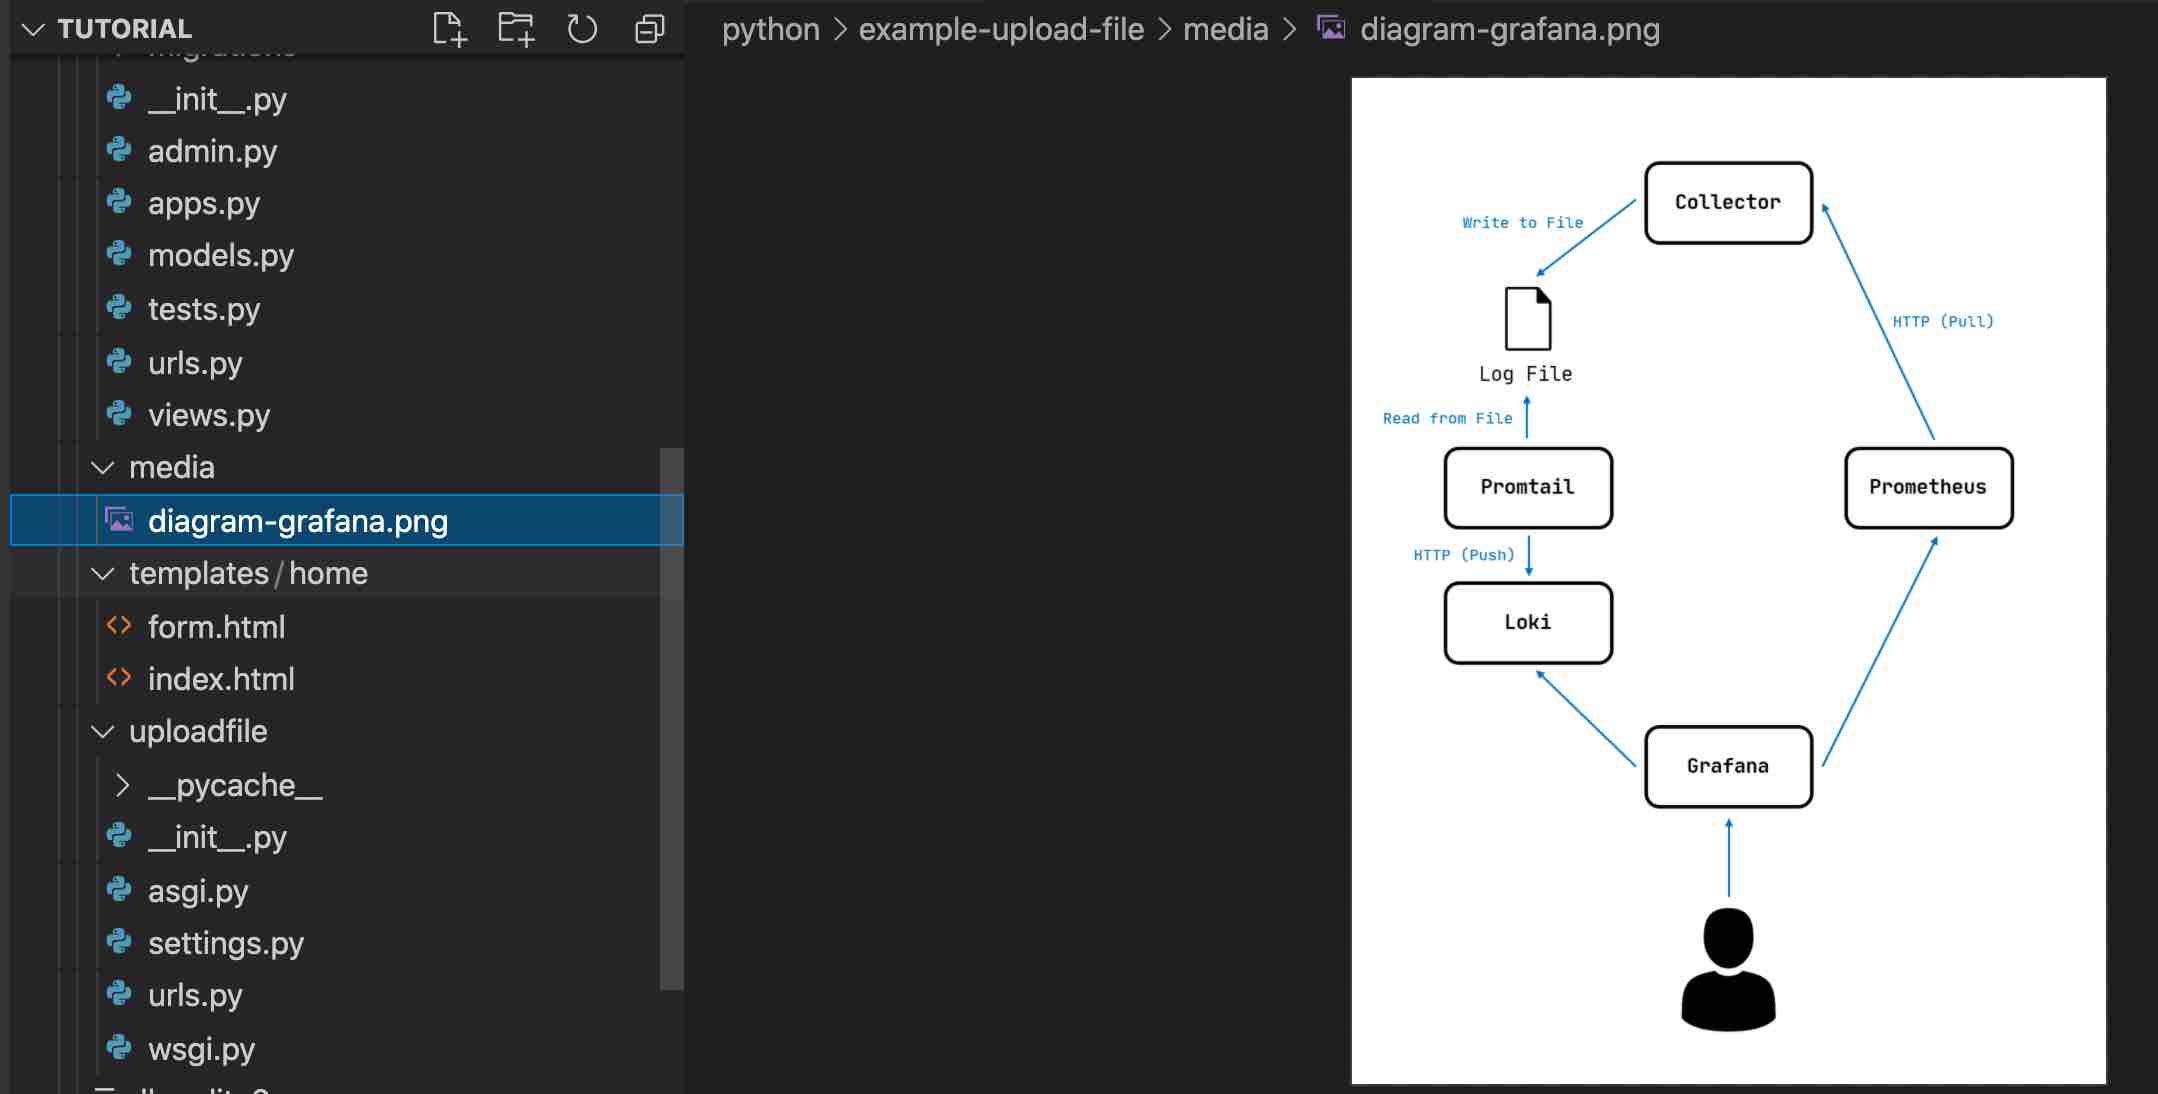
Media penyimpanan file yang biasa digunakan dan cukup popular adalah AWS S3, tapi bagaimana jika Anda ingin menyimpan file dalam storage sistem Anda ?
Terkait hal ini Django framework menyediakan library built-in siap pakai yang bernama FileSystemStorage. Dengan menggunakan file system storage Anda bisa menyimpan file di rektori system Anda.
Untuk mengikuti tutorial ini pastikan Anda sudah berada dalam mode python virtual environment, dan selanjutnya ikuti langkah-langkah berikut ini :
1) Buat django project dengan nama uploadfile
Dibagian pertama ini Anda perlu membuat sebuah project dengan nama uploadfile, Anda bisa menggunakan perintah berikut ini:
django-admin startproject uploadfile
a) Selanjutnya lakukan konfigurasi untuk menyimpan file template pada directory templates
- Buat terlebih dahulu direktori templates di root project Anda
- Tambahkan kode berikut pada file settings.py : os.path.join(BASE_DIR, 'templates')
TEMPLATES = [
    {
        'BACKEND': 'django.template.backends.django.DjangoTemplates',
        'DIRS': [os.path.join(BASE_DIR, 'templates')],
        'APP_DIRS': True,
        'OPTIONS': {
            'context_processors': [
                'django.template.context_processors.debug',
                'django.template.context_processors.request',
                'django.contrib.auth.context_processors.auth',
                'django.contrib.messages.context_processors.messages',
            ],
        },
    },
]
b) Setelah Anda menambahkan direktori templates, langkah berikutnya yang perlu Anda buat adalah menambahkan direktori "media" di root project Anda
- Buat direktori dengan nama media di root project Anda.
- Tambahkan konfigurasi berikut pada file settings.py :
MEDIA_ROOT = os.path.join(BASE_DIR, 'media') # media directory in the root directory
MEDIA_URL = '/media/'
2) Buat django app dengan nama home
Untuk membuat app pada django project Anda bisa menjalankan perintah berikut:
python manage.py startapp home
Selanjutnya tambahkan App home ke settings.py:
INSTALLED_APPS = [
    'django.contrib.admin',
    'django.contrib.auth',
    'django.contrib.contenttypes',
    'django.contrib.sessions',
    'django.contrib.messages',
    'django.contrib.staticfiles',

    'home',
]
3) Buat Home page website Anda
Sekarang Anda bisa mulai membuat home page, pada tutorial ini di homepage terdapat sebuah button yang jika di klik akan menuju halaman upload file.
a) Buat sebuah class dengan nama HomePageView di app home file views.py :
from django.views.generic import TemplateView
class HomePageView(TemplateView):
    template_name = 'home/index.html'
    def dispatch(self, *args, **kwargs):
        return super().dispatch(*args, **kwargs)
    def get_context_data(self, **kwargs):
        context = super().get_context_data(**kwargs)
        return context
b) Buat file dengan nama index.html
Perhatikan code pada point (a):
template_name = 'home/index.html'
Ini merupakan kode yang berisi file home page Anda di simpan, buat file index.html pada direktori home. Perhatikan kode html beriktu ini:
<html>
    <head>
        <title>Satelite project</title>
        <!-- CSS only -->
        <link href="https://cdn.jsdelivr.net/npm/bootstrap@5.2.0/dist/css/bootstrap.min.css" rel="stylesheet" integrity="sha384-gH2yIJqKdNHPEq0n4Mqa/HGKIhSkIHeL5AyhkYV8i59U5AR6csBvApHHNl/vI1Bx" crossorigin="anonymous">
        <style>
            .card{
                margin: auto;
                width: 300px;
                margin-top: 200px;
                border: none;
            }
        </style>
    </head>
    <body>
        <div class="card">
            <a href="/home/upload">
                <button type="button" class="btn btn-info">Uplaod File</button>
            </a>
        </div>
    </body>
</html>
4) Konfigurasi urls.py
Setelah Anda membuat App home, sekarang kembali direktori main project Anda, dan lakukan sedikit perubahan pada file urls.py
from django.urls import path
from home.views import HomePageViewurlpatterns = [
path('', HomePageView.as_view()),
]
Selanjutnya, untuk menguji bahwa code yang Anda buat benar, jalankan perintah berikut pada terminal Anda "python manage.py runserver".
Jika semua berjalan lancar akan tampil halaman berikut ini:
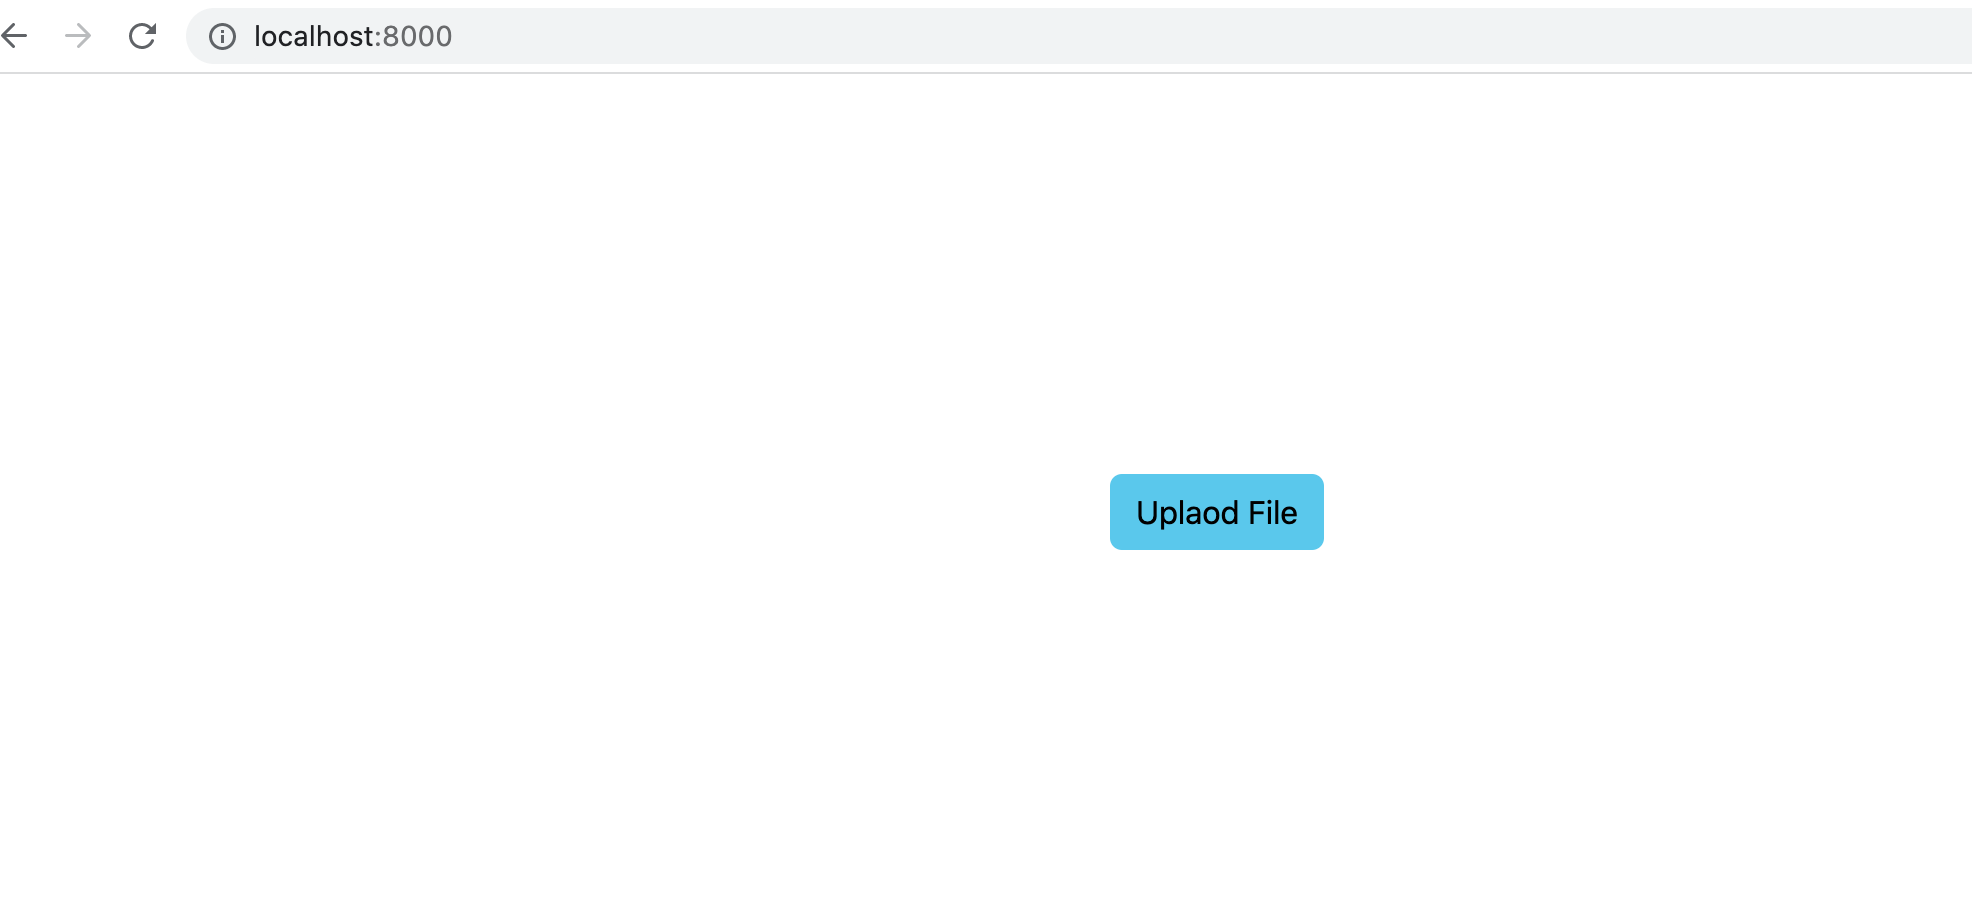 django index page
5) Buat Class Untuk mengupload file
Di tahap akhir tutorial ini, kita akan membuat form dan Class upload file.
a) Tambahkan kode berikut pada App home file views.py:
class UploadView(TemplateView):
    template_name = 'home/form.html'
    def dispatch(self, *args, **kwargs):
        return super().dispatch(*args, **kwargs)
    def get_context_data(self, **kwargs):
        context = super().get_context_data(**kwargs)
        return context

    def post(self, *args, **kwargs):
        request_file = self.request.FILES['uploadfile'] if 'uploadfile' in self.request.FILES else None
        if request_file:
            fs = FileSystemStorage()
            file = fs.save(request_file.name, request_file)
            # the fileurl variable now contains the url to the file. This can be used to serve the file when needed.
            fileurl = fs.url(file)
            messages.success(self.request,"file berhasil di upload")
        return HttpResponseRedirect("/home/upload")
Dari kode diatas kita punya 2 method yaitu GET dan POST, hal yang paling penting dari kode diatas adalah pada fungsi "FileSystemStorage()". Fungsi ini merupakan fungsi builtin dari django file storage yang bisa Anda gunakan untuk mengelola file dalam internal storage.
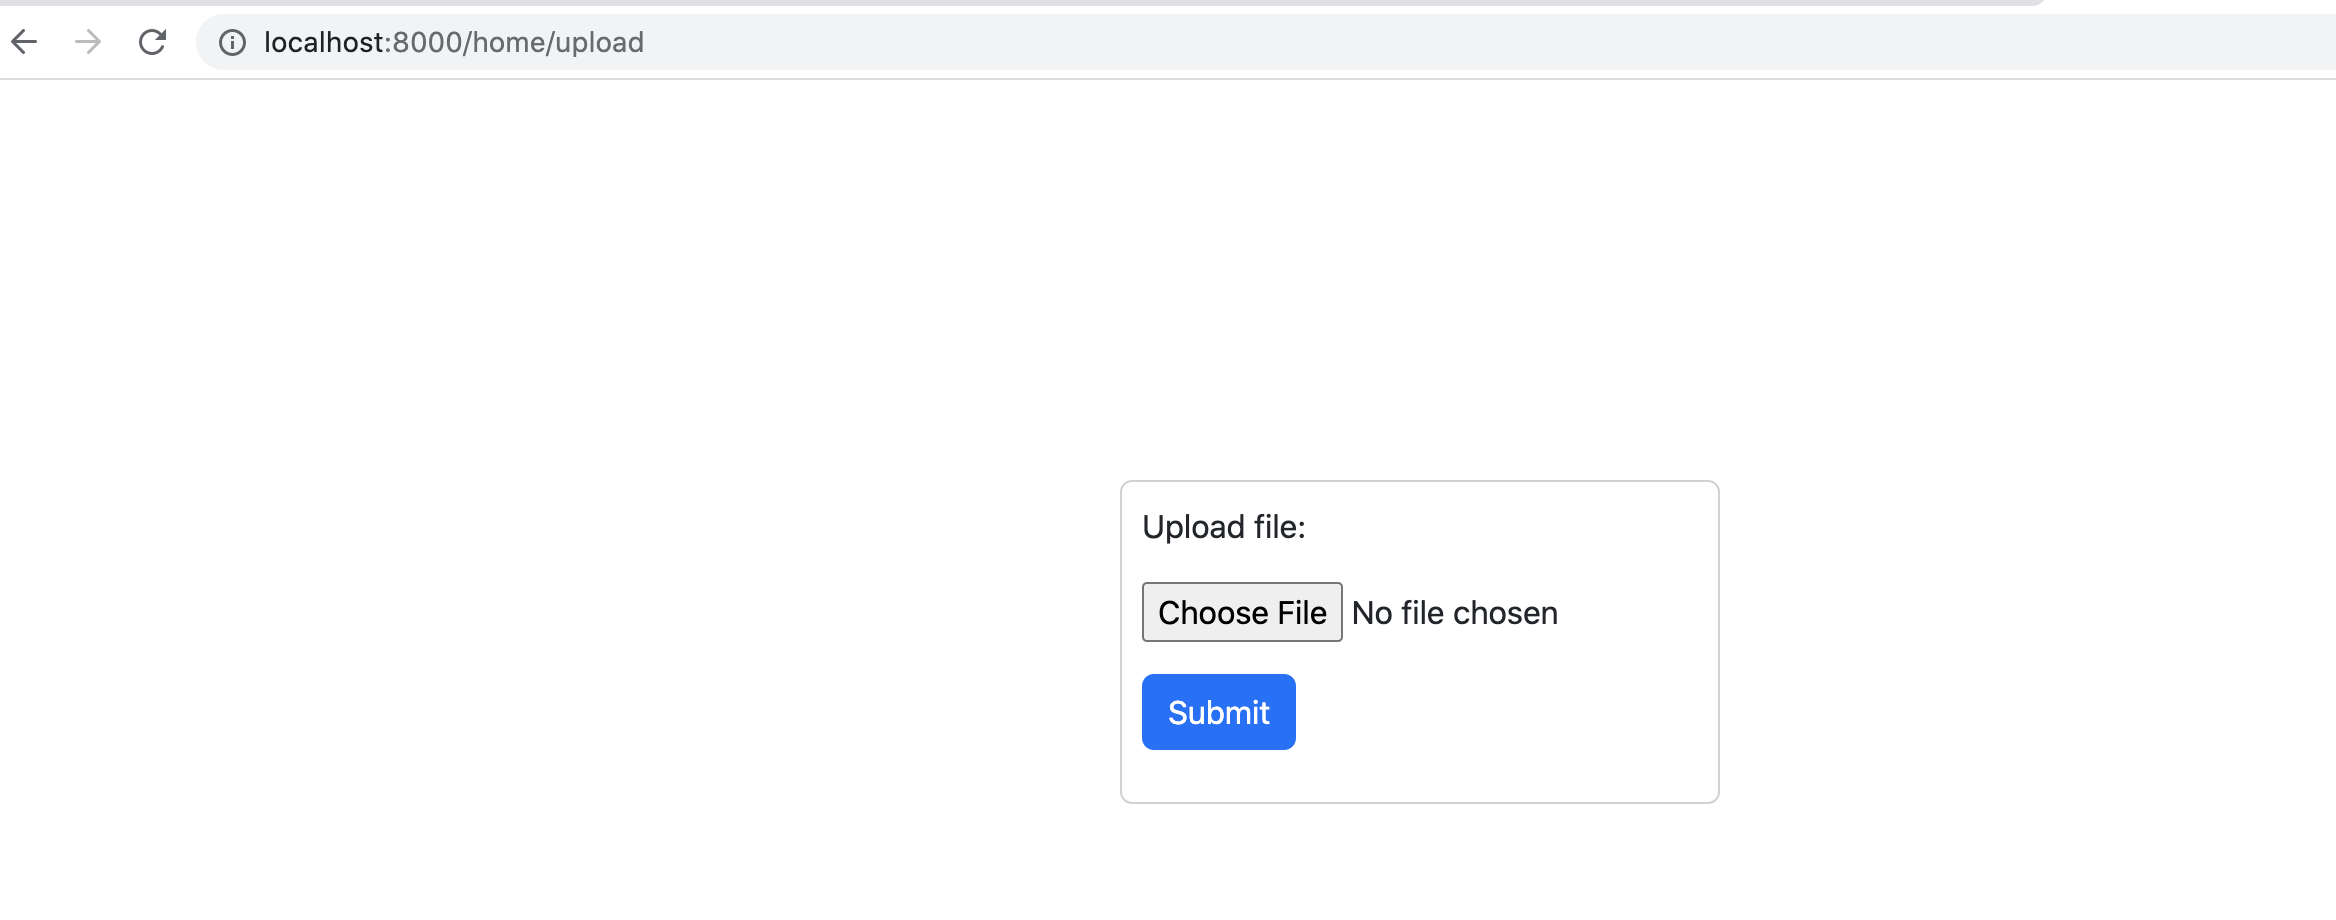
b) Buat file di direktori home dengan nama form.html
<html>
    <head>
        <title>Satelite project</title>
        <!-- CSS only -->
        <link href="https://cdn.jsdelivr.net/npm/bootstrap@5.2.0/dist/css/bootstrap.min.css" rel="stylesheet" integrity="sha384-gH2yIJqKdNHPEq0n4Mqa/HGKIhSkIHeL5AyhkYV8i59U5AR6csBvApHHNl/vI1Bx" crossorigin="anonymous">
        <style>
            .card{
                margin: auto;
                width: 300px;
                margin-top: 200px;
                padding: 10px;
            }
        </style>
    </head>
    <body>
        <div class="card">
            <form action="" method="POST" enctype="multipart/form-data">
                {% csrf_token %}
                <p>Upload file:</p>
                <input type="file" name="uploadfile">

                <div class="mt-3">
                <button type="submit" class="btn btn-primary">Submit</button>
                </div>
            </form>
            {% if messages %}
                    {% for message in messages %}
                    {% if message.tags == "success" %}
                    <h4 class="font-weight-bolder">{{message}}</h4>
                    {% endif %}
                    {% endfor %}
            {% endif %}
        </div>
    </body>
</html>
Beberapa bagian penting dari kode diatas adalah csrf_token dan messages. Berikut ini kode lengkap dari App views.py :
import imp
from multiprocessing import context
from django.shortcuts import render
from django.views.generic import TemplateView
from django.core.files.storage import FileSystemStorage
from django.http import HttpResponseRedirect
from django.contrib import messages# Create your views here.
# Create your views here.
class HomePageView(TemplateView):
template_name = 'home/index.html'
def dispatch(self, *args, **kwargs):
return super().dispatch(*args, **kwargs)
def get_context_data(self, **kwargs):
context = super().get_context_data(**kwargs)
return context
class UploadView(TemplateView):
template_name = 'home/form.html'
def dispatch(self, *args, **kwargs):
return super().dispatch(*args, **kwargs)
def get_context_data(self, **kwargs):
context = super().get_context_data(**kwargs)
return context
def post(self, *args, **kwargs):
request_file = self.request.FILES['uploadfile'] if 'uploadfile' in self.request.FILES else None
if request_file:
fs = FileSystemStorage()
file = fs.save(request_file.name, request_file)
# the fileurl variable now contains the url to the file. This can be used to serve the file when needed.
fileurl = fs.url(file)
messages.success(self.request,"file berhasil di upload")
return HttpResponseRedirect("/home/upload")
c) Konfigurasi urls.py
Pertama, buat file urls.py di direktori home, perhatikan kode berikut:
from django.urls import path
from . import views
urlpatterns = [
    path('upload', views.UploadView.as_view(), name='uploadfile'),
]
Kedua, tambahkan routing pada urls.py main project Anda, perhatikan kode berikut:
from django.urls import path, include
from home.views import HomePageViewurlpatterns = [
path('', HomePageView.as_view()),
path('home/', include('home.urls'))
]
6) Final Project
 final project django upload file
hasil akhir project django upload file
Github : https://github.com/halovina/hvdjuploadfile
Video :
Baca artikel lainya :
- Membuat django middleware request dan response logger
- Tips meningkatkan kualitas code pada bahasa python
- Cara memfilter tipe data string pada golang dan python
- Mengubah format datetime pada bahasa pyhton
- Mengolah data CSV dengan python pandas
- Sample join data CSV di python menggunakan pandas
- Menggunakan redis PUB/SUB untuk aplikasi python
- Mengenal obligasi kekurangan dan kelebihanya
- Implementasi blockchain ethereum pada industri real estate
- 4 Cara mengubah dictionary ke json pada python
- Djed stablecoin hasil kolaborasi cardano dan coti
- Airdrop tempat komunitas berbagi coin gratis
- Apa itu UNISWAP dan bagaimana cara kerjanya
- Mengenal mina protokol mini blockchain baru
- Mengenal cardano crypto currency generasi ke-tiga
- Apa yang kamu tau tentang gas ethereum ?
- Memilih database : Cloud Firestore atau Realtime Database
- Komponen-komponen Python Data Science